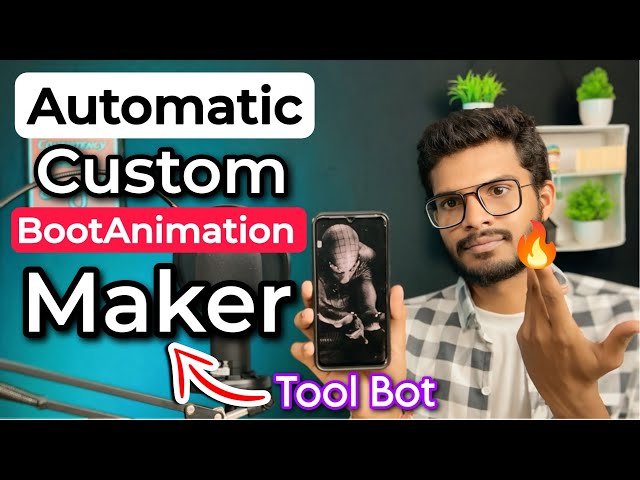
Creating a personalised boot animation for your Android device is an exciting way to add a unique touch to your smartphone experience. Whether you want to display a favourite GIF, a photo, or a video, customising the boot animation can give your device a fresh and personalised look. In this guide, we’ll walk you through the process of creating your own boot animation, setting a custom boot logo, and flashing it on your device.
What is a Boot Animation?
A boot animation is the sequence of images or videos that appear when you power on your Android device. It’s the first visual element you see, making it a perfect opportunity to showcase something personal or fun. With the right tools and steps, you can easily create a custom boot animation that reflects your style.
Tools You Need
Before diving into the process, you’ll need to gather a few tools:
- Image, Video, or GIF Files: These will be the foundation of your boot animation. Ensure that the files are of high quality and fit within the size constraints mentioned below.
- Boot Animation Studio: This is a software tool that allows you to create and customise boot animations. It supports various file formats, including images, GIFs, and videos.
- Magisk Module (optional): If you want to flash the boot animation on a rooted device, you’ll need Magisk.
Step 1: Preparing Your Files
Start by selecting the media you want to use for your boot animation. It could be a photo, GIF, or video. Here are some important considerations:
- File Size: Ensure that your file size is below 5 MB to avoid performance issues.
- Duration: The animation should be around 30 seconds or less. Anything longer might cause delays during the boot process.
- Resolution: Depending on the resolution of your media, the duration may vary. For example, a 480p video can run up to 8 seconds, 720p for 5 seconds, and 1080p for 3 seconds.
Step 2: Creating the Boot Animation
Once your files are ready, you can begin creating the boot animation:
- Upload Your Media: Start by uploading your chosen file (photo, GIF, or video) into Boot Animation Studio. It’s recommended to upload the media as a document for better resolution.
- Command Input: After uploading, use the command
/createto initiate the creation of your boot animation. If you want the animation to play without sound, append the wordsilentto the command. - Select OS Type: Next, you’ll be prompted to choose between
generic AOSPorUI. Choose the one that matches your custom ROM or stock Android system.
Step 3: Flashing the Boot Animation
After creating the boot animation, it’s time to flash it onto your device:
- installed the Boot Animation: Once the process is complete, install the boot animation file.
- Magisk Module (for rooted devices): If your device is rooted, you can easily flash the boot animation using Magisk. Go to the
Modulessection in Magisk, selectInstall from storage, and choose your installed boot animation file. - Reboot Your Device: After flashing, reboot your device to see your new boot animation in action.
Step 4: Creating a Boot Animation Without Root
If you prefer not to root your device, there’s still a way to apply a custom boot animation:
- Initial Root Access: Initially, you’ll need root access to place the boot animation file in the correct system path. After that, root access is no longer required, and the animation will remain permanent.
- Permanently Apply the Animation: Follow the steps mentioned above to apply the boot animation. Once set, you can remove root access if desired.
Exploring ready-made boot animations
If creating a boot animation from scratch seems daunting, you can explore ready-made boot animations. Many users have created and shared their custom animations online. You can easily install and flash these animations on your device following the same steps outlined above.
Final Thoughts
Customising your Android device with a unique boot animation is a fun and rewarding process. Whether you create one from scratch or use a pre-made option, the result is a personalised touch that sets your device apart. Remember to follow the file size and duration guidelines to ensure smooth performance, and enjoy the creative process of making your Android experience truly your own.
Share via:


